Waypoint Editor
Overview RELEASE 3.2.0
As of release 3.2.0, NimbleStory will now provide users with the ability to add, update, and remove waypoints from with a Concept Explorer (CE) solution. This guide will cover how to access and edit your published CE. It should be noted, that only users with the proper permissions will have access to this capability.
📘 Accessing the Editor
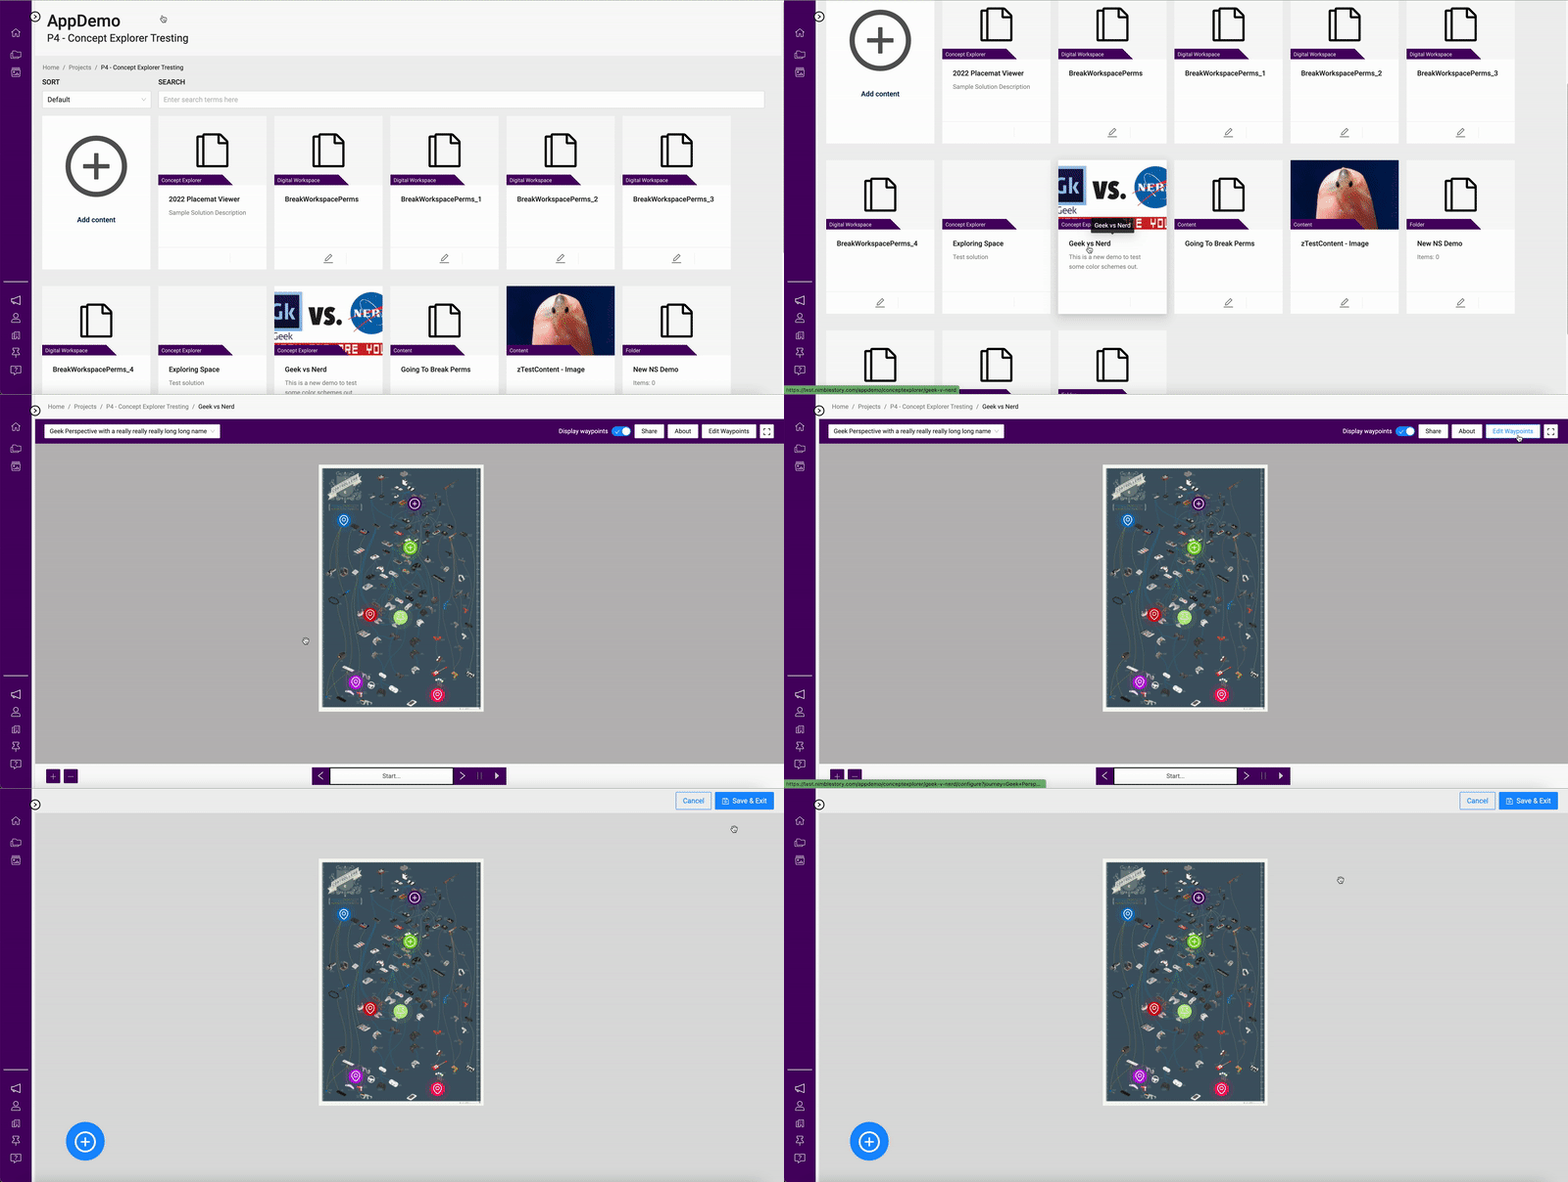
To open the Editor view you will simply need to access the specific Concept Explorer and select the Edit Waypoints button that will now be available in the header bar at the top of the screen.
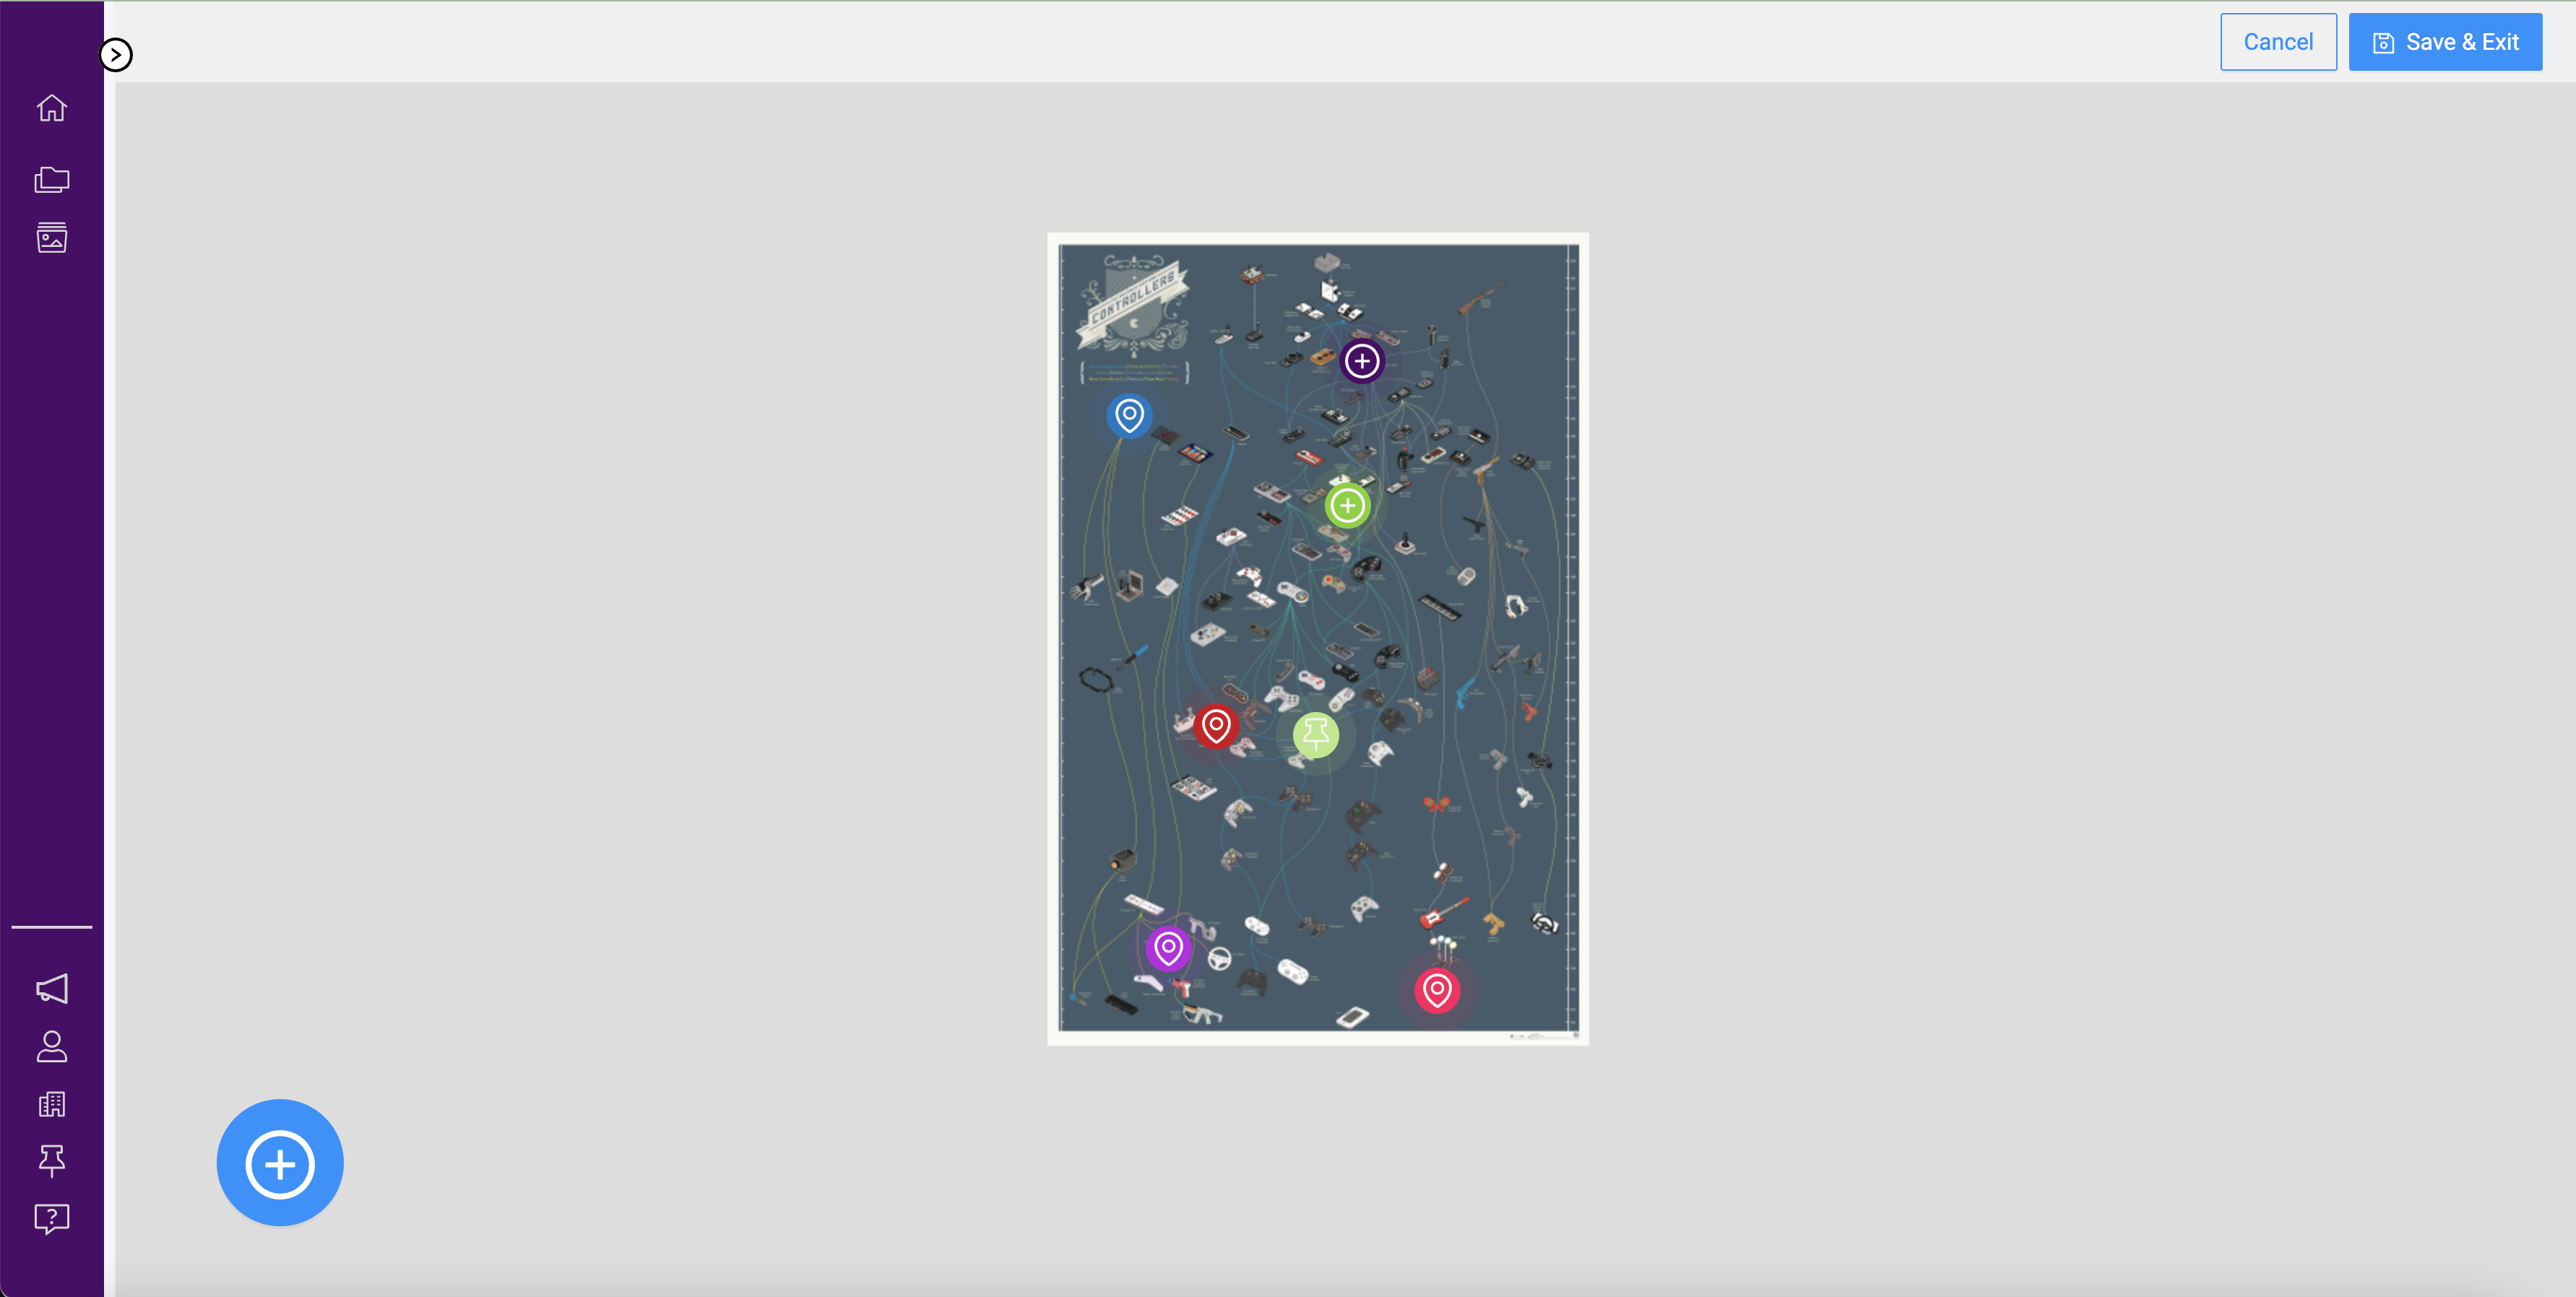
The Editor will look similar to the saved, live view by presenting the currently viewed Core Visual and all of the available Waypoints. Additionally, you will note the header banner now contains a Save and Cancel buttons and the new Add Waypoint trigger in the bottom left.
Note: You can make your desired changes without having to save each individual update. The Save & Exit button will update any and all changes you have made to the CE solution and return you to the live view.
📘 Editor Panel
To access the editor panel all you need to do is select a single Waypoint. The panel will provide you with several different options to update the specific waypoint. Additionally, within the header of the panel, you can toggle between any waypoint on the current visual.
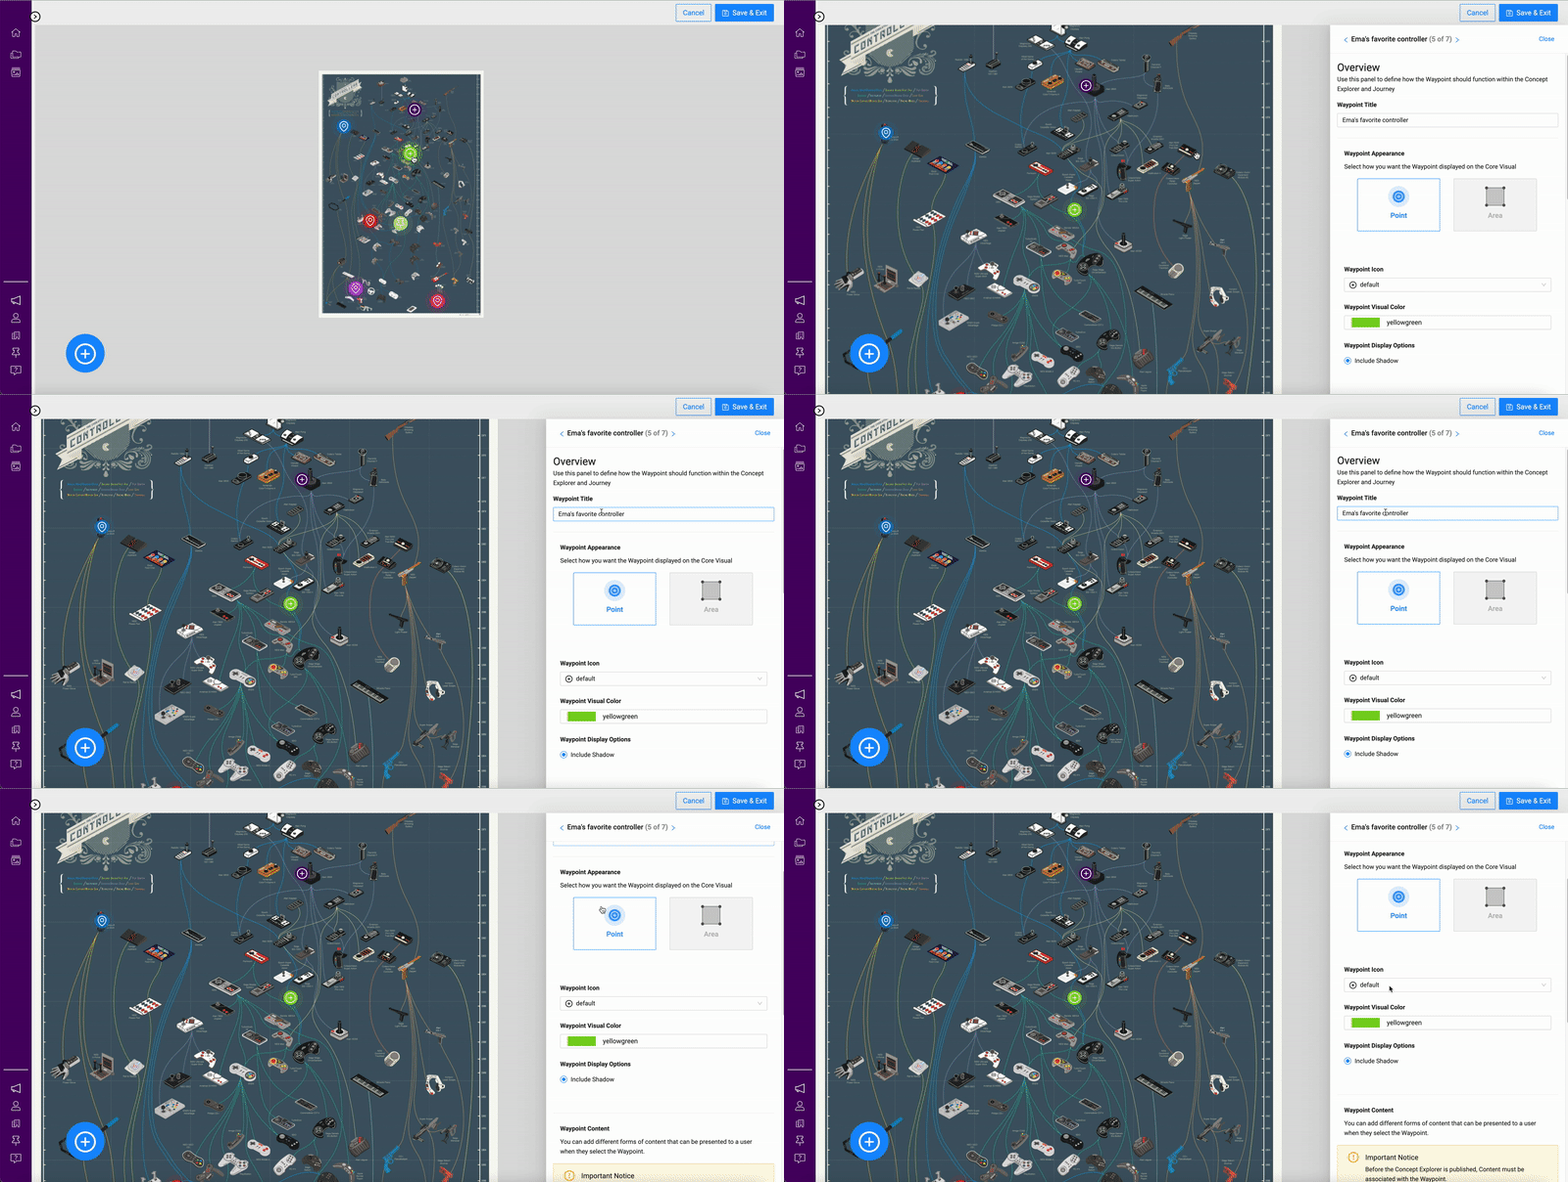
Waypoint Configuration Options:
Waypoint Title – The displayed name of the specific Waypoint.
Waypoint Appearance – This controls if the waypoint is displayed as an icon or a polygon. Note that the Area option is disabled for the current version. Depending on the selection, there will also other options to further customize the look of the Waypoint.
Waypoint Content – This allows you to change the content that is displayed when the Waypoint is selected by a user. Currently, this only allows you to change the existing Article, but in future releases, you will be able to choose between portfolio content assets within your project.
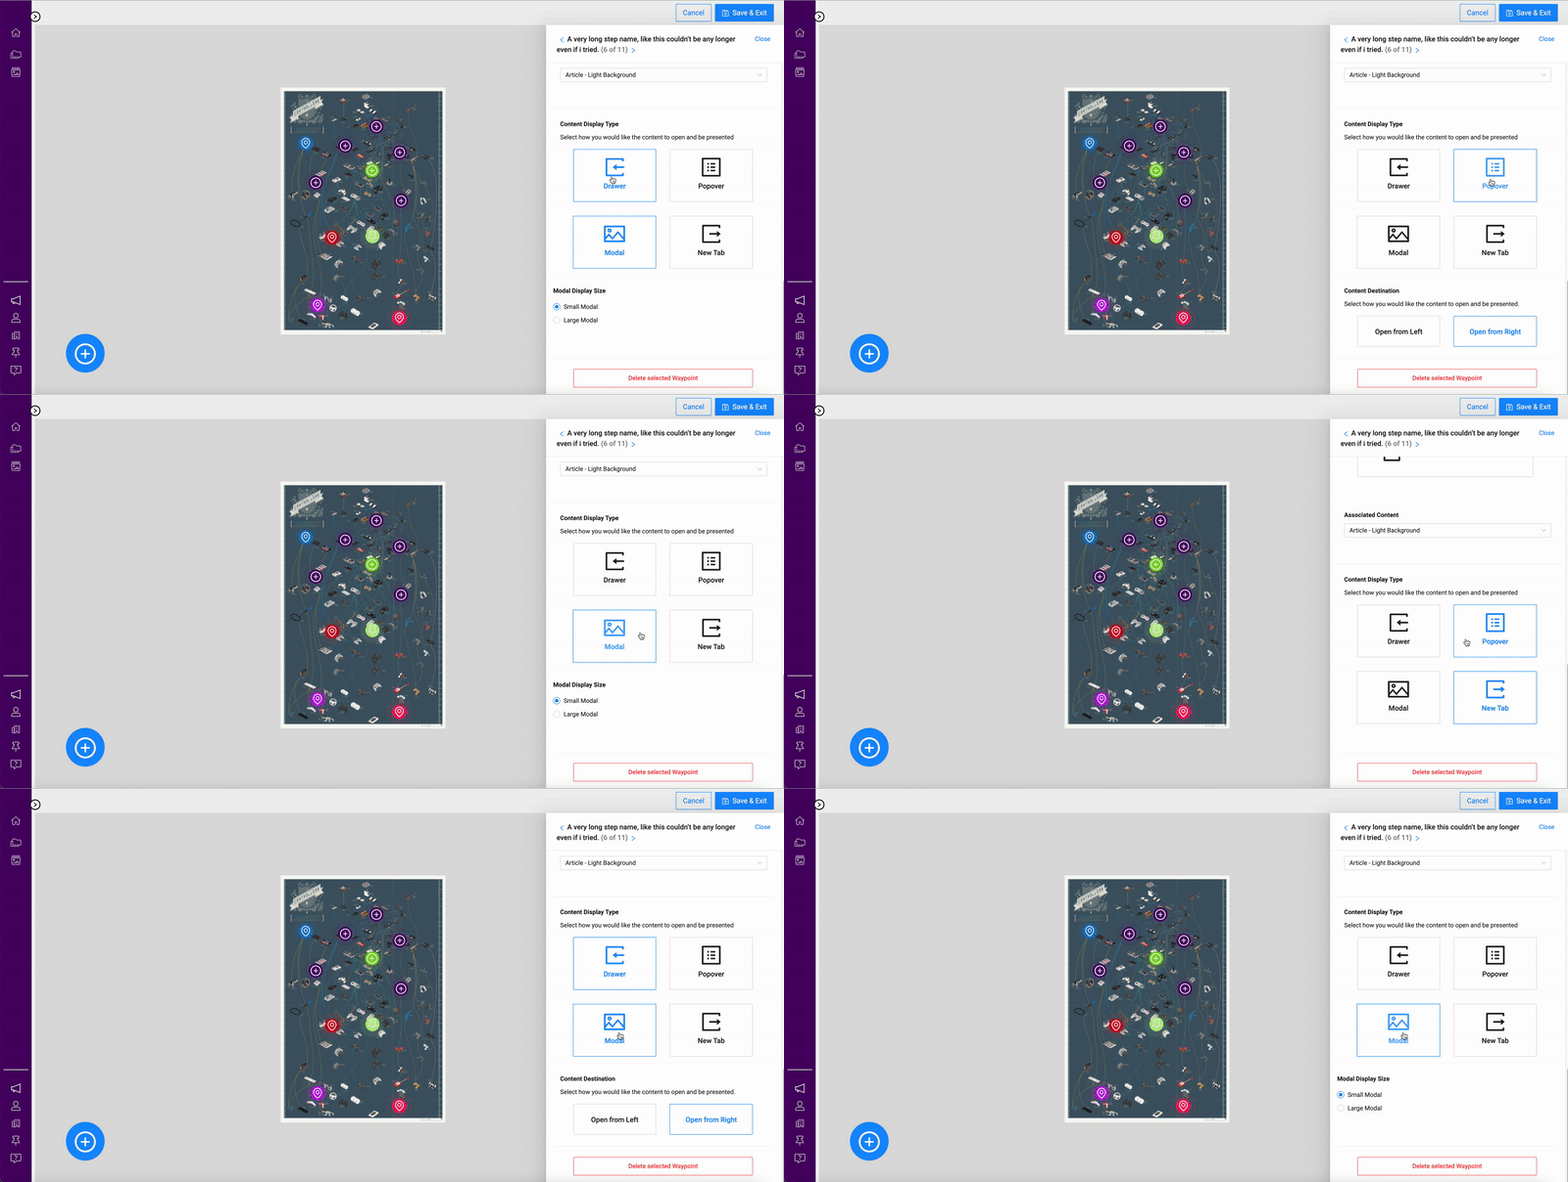
Content Display Type – This allows you to set how the content is rendered. There are four options:
Drawer – the content opens from either side of the screen.
Modal – the content is centered on the display in a container
Popover – the content is presented in a small container that opens next to the Waypoint. It is recommended that Popovers only be used for very limited information
New Tab – the content will open in a new tab within the browser
You may also delete the selected Waypoint as well. This is destructive and will remove the waypoint completely from the CE solution.
📘 Adding New Waypoints
Adding additional Waypoints to the Core Visual is now as easy as entering the Add Waypoint mode by clicking the floating action button on the bottom left and selecting anywhere within the view to place a new one. This allows you to add a Waypoint with much greater control and precision by zooming in and selecting the exact location you want. From you can continue to add empty Waypoints or you can select the one you just placed and directly begin to configure it. When you are done, you can reselect the action button to return to the main view of the editor.
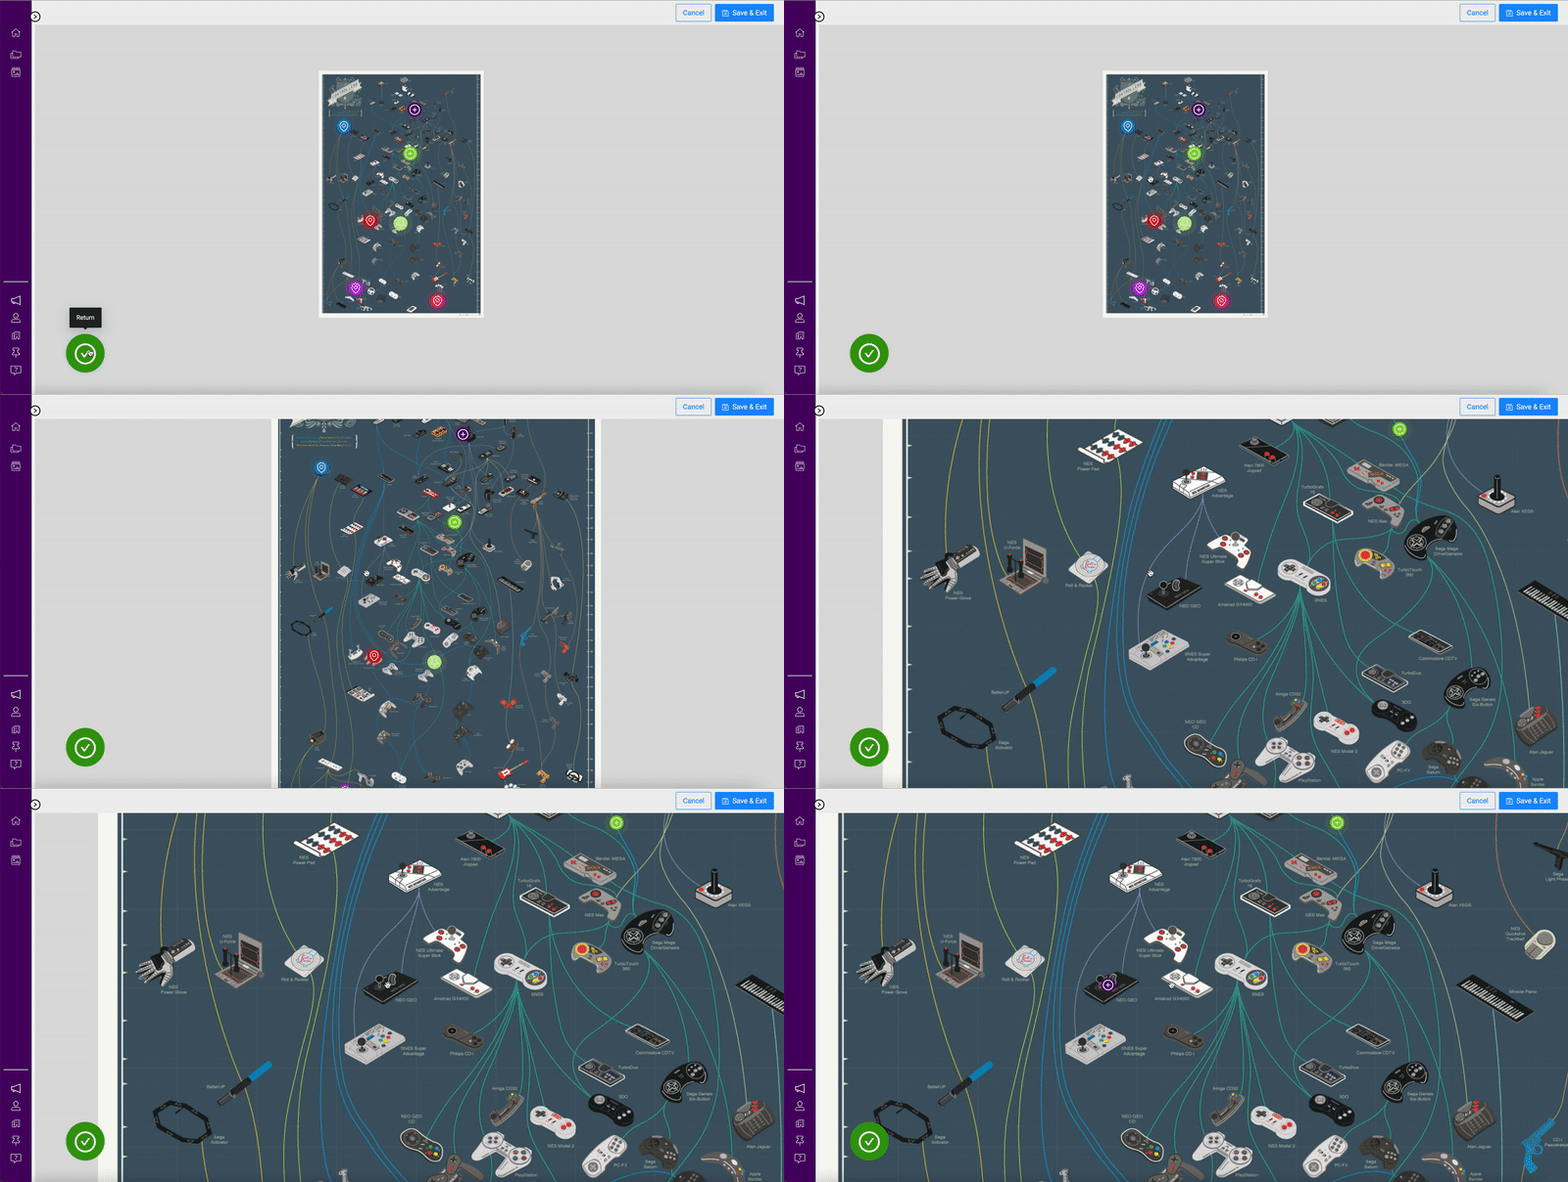
📘 Moving Waypoints
With the active Waypoint selected, you can also adjust its position of it on the Core Visual. To do so, simply click-hold (press-hold on a trackpad) to drag the object around the viewer.
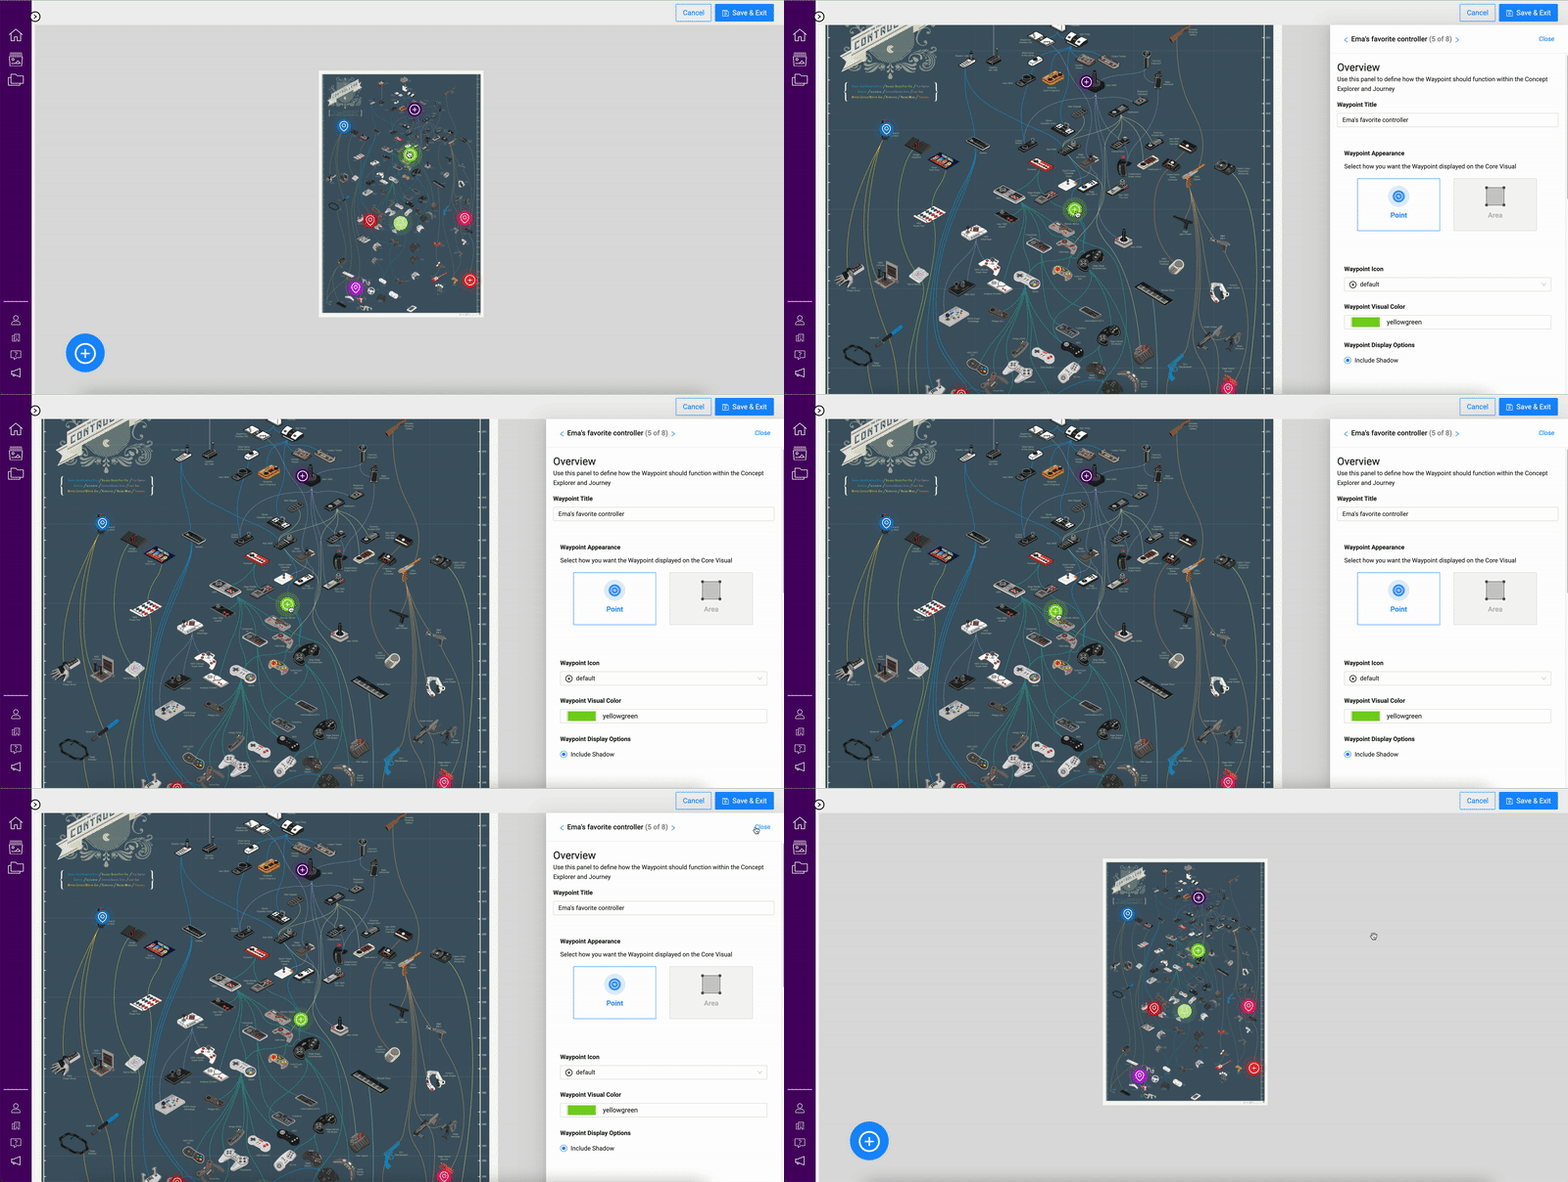
📘 Saving Changes
Any updates that you make while in the Editor view will only be temporarily saved. To permanently save the updates requires that you select the Save & Exit button within the header. This will update all of your changes to the Concept Explorer and return you to the live view. It is important to note that if you leave the Editor without saving your changes they will be lost.
